Adding Your Wallet Addresses
How to add and manage wallet addresses for each blockchain in AshePay.
Your wallet address is where payments land. AshePay never holds or routes funds — every payment goes directly from the customer's wallet to the address you enter here.
Opening the settings
Go to AshePay → Settings and click the Networks tab.
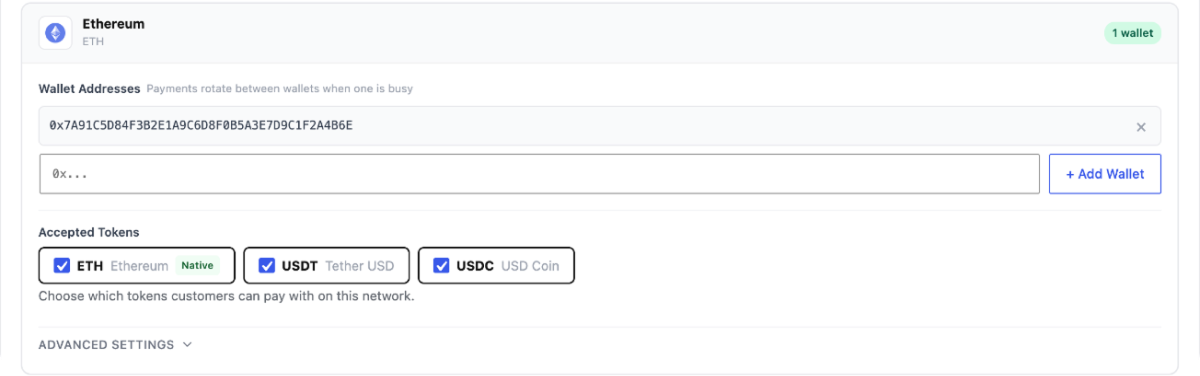
Entering your wallet address
Each chain you enable has its own wallet address field. On the free version, you will see Ethereum and Bitcoin. Click on a chain to expand it, then paste your wallet address in the field provided.
Double-check every address you paste. Crypto transactions are irreversible — a typo means your funds go nowhere. Always paste from your wallet app and verify the first and last 6 characters match.
Which wallet should I use?
Any wallet that gives you full control of your private keys works. Some options:
- MetaMask — good for Ethereum (and Polygon, BNB Chain, Arbitrum, Base on Pro)
- Trust Wallet — multi-chain, works for most networks
- Ledger / Trezor — hardware wallets, highest security for larger volumes
- Bitcoin wallets — any standard Bitcoin wallet (Electrum, BlueWallet, etc.)
EVM chains share an address format. Your Ethereum wallet address (starting with 0x) also works on Polygon, BNB Chain, Arbitrum, and Base (all Pro chains) — they all use the same address format. You can use the same 0x address on all of them, or separate addresses if you prefer to keep funds separated.
Adding multiple wallet addresses (rotation)
You can add more than one wallet address per chain. AshePay will automatically rotate between them — assigning each new order to a wallet that has no active pending payment. This prevents two customers from ever being sent the same address at the same time.
To add a second address, type it in the field and click the + Add Wallet button.
Saving settings
After entering your addresses, scroll down and click Save changes. AshePay will validate that each address matches the expected format for its chain before saving.